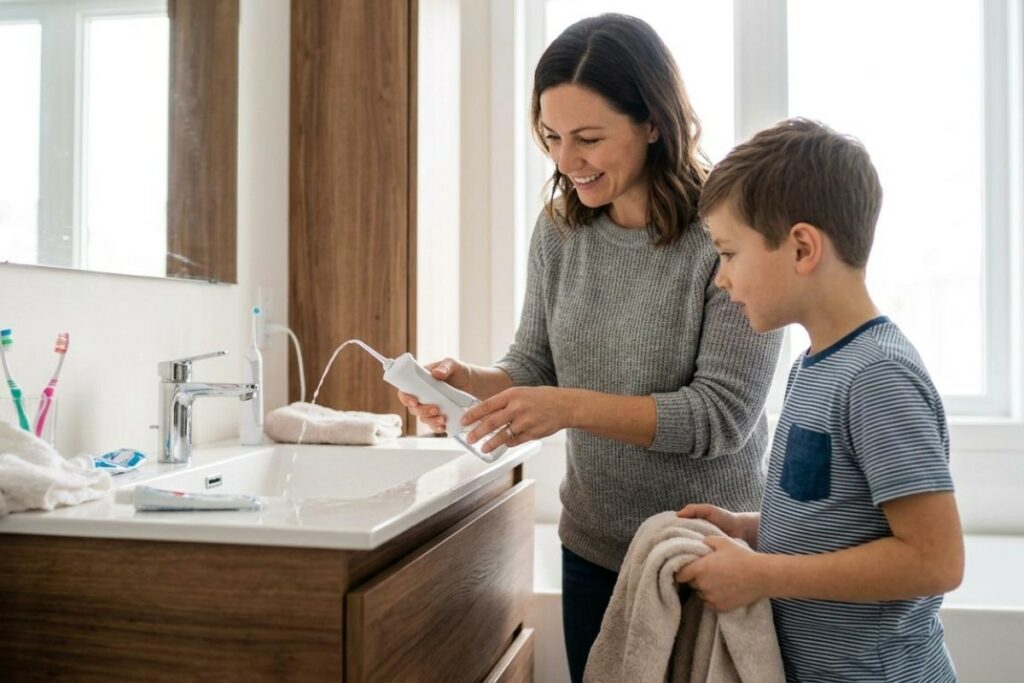
A water flosser is a powerful tool that uses a steady stream of pressurized water to clear away plaque and debris from the hard-to-reach gaps between your teeth. While brushing cleans the surfaces, this device targets the hidden areas along the gumline where bacteria tend to settle. Over time, that buildup can lead to irritation, bleeding, and more serious concerns.
Incorporating this into your daily routine can support healthier gums and a cleaner smile for every member of your family.
What a Water Flosser Does for Your Teeth
Even with diligent brushing twice a day, tight spaces between teeth can remain untouched. Food particles and bacteria hide in these gaps, which may lead to irritation or bleeding over time. A water flosser serves as a practical complement to brushing by flushing out what a toothbrush leaves behind.
This handheld device directs a stream of water between teeth to remove debris and reduce bacteria. Many people notice a difference in gum comfort after just a few weeks of regular use. If you already have a solid routine, adding a water flosser can take your daily care a step further.
How to Use a Water Flosser Step by Step
The first step to using your new water flosser is setting it up. Before you even turn the unit on, ensure you:
- Fill the reservoir with warm water: Use lukewarm water to avoid the discomfort that cold water can cause for sensitive teeth.
- Attach the tip: Press the tip into the handle until you feel it click into place.
- Start on the lowest pressure setting: Give your gums time to adjust to the sensation. You can gradually increase the pressure as you become more comfortable.
Once your device is ready, use the following technique to help you reach every corner of your mouth effectively:
- Lean over the sink: Place the tip in your mouth before turning the unit on to prevent splashing.
- Close your lips slightly: Keep your mouth closed enough to guide the water flow toward the drain.
- Aim at the gumline: Position the tip so it sits just above the gumline, with the water stream flowing at a 90-degree angle to your tooth. Let the water trace along where your tooth and gum meet.
- Move slowly: Follow the natural curve of your teeth, pausing briefly at the space between each one. Work from the back of your mouth to the front, covering both the inside and outside surfaces.
Should You Floss Before or After Brushing?
The order matters more than most people think. Use your water flosser before you brush to loosen debris and bacteria. This allows your toothpaste to reach more of the tooth surface for a more thorough clean. Think of it like rinsing a dish before scrubbing it.
Use your water flosser once a day, ideally at the same time each evening, so it becomes part of your routine. It doesn’t replace your toothbrush, though. You still need to brush your teeth twice daily to clean their surfaces properly. Both tools work together, not in place of each other.

How to Choose the Right Tip for Your Needs
Different dental needs require different attachments. Selecting the right one is one of the best ways for you to get the most out of the device:
- Orthodontic Tips: Use these if you have braces. They feature a tapered brush to clean around brackets and wires.
- Implant Tips: Choose these for crowns, bridges, or implants. They provide a gentle flow designed for restorations.
- Standard Tips: Use these for general cleaning between healthy teeth.
Replacing Your Tips
Tips wear down with use and should be replaced on a regular schedule to keep your water flosser working effectively. Worn or discoloured tips don’t clean as well and can harbour bacteria, so staying on schedule is worth it.
- Standard jet tips: Replace every 6 months.
- Orthodontic and plaque seeker tips: Replace every 3 months, since the small bristles wear out faster than the plastic nozzle on a standard tip.
If you notice any cracks, discolouration, or a change in water flow before the recommended replacement time, swap the tip out sooner.
How to Keep Your Water Flosser Clean
A little regular maintenance goes a long way toward keeping your device working properly. Here are some simple habits to build into your routine:
- Rinse the tip after each use: Run clean water through the unit for a few seconds to flush out any leftover debris.
- Clean the reservoir weekly: Wash it with warm, soapy water and let it air dry before refilling.
- Deep clean monthly: Run a mixture of warm water and white vinegar (about 2 tablespoons of vinegar per reservoir) through the unit to break down mineral buildup, then follow with a plain water cycle to rinse.
- Replace tips on schedule: Even with good cleaning, tips wear out and should be swapped on the timeline above.
If your water flosser starts to feel sluggish or the flow seems weaker than usual, a deep clean will usually bring it back to full strength.
Take Charge of Your Daily Oral Care
Even the best at-home routine works best alongside professional care. Book a hygiene appointment with Fairlawn Dental Centre to keep plaque in check, catch early signs of gum irritation, and make sure your daily tools are doing their job.
Call us today or request an appointment online to get started.